Sunday, 12 February 2012
Formatting the hard drive
We still had the big Western Digital hard disk to format, so that the computer could use all that space. It took a little investigation on the web to find out what to do, but once we did that, it wasn't too hard. We went from the Windows Start button to the Control Panel, then to System and Security, then Administrative Tools, then double-clicked on Computer Management. This opened a new program and in the left part of the screen, under Storage, we had to double-click again on Disk Management. That's a lot of steps, but I guess it stops you accidentally formatting anything by accident!. What we ended up with at this point was a map of all our disks, including the big space on the Western Digital drive. We had to right-click on that to create what's called a new "volume". We left all the default settings, except we changed the drive letter to "W" (for Western Digital) and changed the volume name to "Western Digital A". Oh yes, and we unchecked the button that said "Quick format". This meant that the formatting program checked every location on the disk to see if any were damaged. Formatting this way takes a long time - about 3 hours for our 1.5 Terabyte drive! But we thought it was worth it since it was a brand-new drive and we wanted to make sure it was all OK. We just went and did something else while it was doing its stuff. And 3 hours later all was finished and Windows could see all that new space ready to use.
Saturday, 11 February 2012
Installing the operating system
 |
| Windows 7 OEM 64-bit |
 |
| Our first Windows screen |
After a while we got screens appearing to set up a few things in the Windows installation, like the language we wanted to use, and soon after that we were creating the admin account for our new computer. Also, this is the point where we had to choose a name for the computer - this led to a lot of debate and maybe we should have thought about it in advance!
We had a choice of which hard drive we installed Windows to, and chose the solid state drive - that way the computer should boot up more quickly. This means we still have the big conventional drive that isn't ready to use, but we'll deal with that next.
Thursday, 9 February 2012
The big turn-on
 |
| The first signs of life |
Well, the time has come to flick the switch and see what happens ...... big drum-roll please ...... But first we need to connect our new computer up to a monitor and keyboard and mouse. For the keyboard and mouse we just used old ones that we had lying around and for the monitor we used the HDMI input on our TV. We'll need a new monitor eventually but for the moment this will do. And ..... what happened? Well, no fireworks, so that's good, and the first screen we saw is the top picture here. Fantastic!
 |
| The first screen in the BIOS settings |
 |
| CPU temperature: 28 degs |
Tuesday, 7 February 2012
Getting wired and cabled
 |
| Our spare SATA data cable |
Monday, 6 February 2012
Nearly done!
We've got everything from motherboards to hard drivez drives to processors. And we still haven't actually turned the computer on!
P.S. Get the OEM version of the operating system you have chosen (you save £100) - more on this soon.
P.S. Get the OEM version of the operating system you have chosen (you save £100) - more on this soon.
Sunday, 5 February 2012
Where did the mobo go?
 |
| The mobo, now installed |
 |
| The case now - filling up nicely |
The case here is lying on its side, with the back towards us. At the bottom left of the picture is the power supply. At the top right is the cage for the disks, and you should be able to spot our drives installed in the first two of the five trays. At the top left, just under the metal bar that runs across the case, is the DVD drive - we pushed that in from the front of the case.
Friday, 3 February 2012
The first little snag ....
We've been trying to fit the solid-state drive in a drive tray. Not so easy at it sounds, because the trays are built for regular hard disks, and SSDs are quite a bit smaller. Some posts on the web say that you can just use sticky tape, but we wanted to do it properly, since we are new to all this. So we got a bracket, made by Icy Dock. The SSD fits in the bracket and the bracket fits in the tray ...... in theory. In practice, the bracket didn't fit in our trays. So ...... we instead we got what is really just a plastic box (still made by Icy Dock) that the SSD slots into. You can see the difference between the bracket and the box here. I hope we can return the bracket to Amazon for a refund!
 |
| This didn't work .... |
 |
| .... but this did |
Wednesday, 1 February 2012
Let's go driving!
 |
| The drive cage |
So how does all this work? Well. the Antec case we are using has a really neat way of keeping all your drives safely in place. The case has what's called a drive "cage", which slides out of the case on rails after undoing a couple of screws. Then the cage has a bunch of smaller "trays", which also slide on rails and clip into the cage one above the other. The cage will hold 5 (yes, five) drives if we want, but that seems like way too many (apart from being way too expensive), so we'll just stick with two.
 | |||
| The Crucial M4 SSD, all boxed up |
 |
| One of the drive trays |
Tuesday, 31 January 2012
Keeping it cool
 |
| Antec TriCool (80mm) |
The most important thing about fans is to get the right diameter for the place you want to attach it to the case - the Antec is 80mm diamaeter and the Zalman 92mm. We would have got them both the same brand, except that we couldn't find an Antec LED fan at 92mm. Both fans will pull air into the case - the bigger fan that came already installed in the back of the case will push air out.
Fitting them was a little fiddly. First, the Antec didn't have any arrows on showing which way the air would flow, so we had to use a little guesswork. Second, the Zalman came with very stretchy silicone pins, which were supposed to go through the holes in the case and then through the fan - all helping to keep noise down apparently. Well, the pins were never going to fit through the holes in our case. Luckily the case itself had come with some extra screws, just for fitting fans, so we used those instead.
Saturday, 28 January 2012
Don't forget the memory
Apart from the processor the main bits that need installing on the mobo are the memory modules, and here is what we got for those. What a great name - Vengeance! Anyway, there are two of these units in the box. Each one has its own heatsink, which I guess is why they look like a comb. I'm not sure how much power they need - we should find out. Each module has 4 Gigabytes of memory, so we will have 8 Gigabytes altogether. That sounds like a lot, and should help our computer do complicated things. Wish I had that much memory! Why this particular choice? It was recommended on Amazon for use with the Core i3 processor. Perhaps we could have got away with less than 8 Gigabytes, but at only £38 we hope it's a good investment.
 |
| One of the two modules |
 |
| Memory modules, still boxed up |
Getting to the heart of the matter
The processor arrived today, less than 24 hours after placing the order - you've gotta love Amazon Prime! As you can see, the box isn't very large, and inside there are two main pieces of kit: the processor itself and a heatsink/fan unit.
The processor we chose is an Intel Core i3. To be precise, the i3-2100. It's part of Intel's family of processors called Sandy Bridge, which hit the shelves in 2011. We need to be careful handling it, so in the photo it's still in its protective case. If you're wondering how big it is, about 4cm square.
Remember what we said about fans and heat? Well, it's the processor where a lot of that heat comes from, so it has its very own fan. Not only that, but it has a heatsink too (bottom left in the photos). The three black stripes in the middle are called "thermal paste" - they will stick the heatsink to the processor and it's important not to touch them, so for the moment we've left the heatsink in its protective pacakge. The heatsink "spreads" the heat away from the processor and then the fan will get rid of it completely.
This processor is rated at 65 Watts - remember our power supply was 430 Watts so that's OK for the moment. And finally, remember our mobo had a 1155 socket for the processor? The gold parts of the processor that you can see are in fact hundreds of tiny electrical contacts - 1155 of them altogether! Perhaps there is some sense to this geek-speak after all.
 |
| The processor, all boxed up |
 |
| Intel Core i3 |
 |
| Heatsink/fan (bottom side) |
 |
| Heatsink/fan (top side) |
The processor we chose is an Intel Core i3. To be precise, the i3-2100. It's part of Intel's family of processors called Sandy Bridge, which hit the shelves in 2011. We need to be careful handling it, so in the photo it's still in its protective case. If you're wondering how big it is, about 4cm square.
Remember what we said about fans and heat? Well, it's the processor where a lot of that heat comes from, so it has its very own fan. Not only that, but it has a heatsink too (bottom left in the photos). The three black stripes in the middle are called "thermal paste" - they will stick the heatsink to the processor and it's important not to touch them, so for the moment we've left the heatsink in its protective pacakge. The heatsink "spreads" the heat away from the processor and then the fan will get rid of it completely.
This processor is rated at 65 Watts - remember our power supply was 430 Watts so that's OK for the moment. And finally, remember our mobo had a 1155 socket for the processor? The gold parts of the processor that you can see are in fact hundreds of tiny electrical contacts - 1155 of them altogether! Perhaps there is some sense to this geek-speak after all.
Friday, 27 January 2012
What steps are we planning next?
We've ordered the processor and memory - more on those soon. When they arrive we should be able to install them on the motherboard (or "mobo" as we geeks call it) and then install the mobo in the case. Before any of that happens, let's take a look inside the case.
Here, you can see inside the case. We've removed one of the side panels and it's lying on its other side. The back of the case is nearest to us. The power supply fits in the case at the bottom left of this picture - it's held in place with four screws. The fan that you can see in the back of the case was already installed when we got it. At the back of the photo, you can see the inside of the front of the case. The two square meshed areas are where you can install extra fans - we'll probably install one fan here. The metal box in the top left of the picture is where you install DVD drives and the like. We haven't got to that stage yet. The mobo will be attached to the side panel that you can't remove. Finally, what about those wires you can see inside the case? They were already installed in the case when we got it and we think they will connect to the mobo to make sure things like the on-off switch and the ports on the front panel work properly.
 |
| Looking inside the case |
Monday, 23 January 2012
The Mobo's here!
Got the motherboard two days ago. That's "mobo" in geek-speak. I guess now that we're building our own computer, we need to learn more of this geek-speak stuff.
The mobo we bought was a Gigabyte brand: Z68XP-UD3. We liked it because it has 10 USB ports and two firewire ports which we want to use for video editing. And a very colourful box! We haven't unpacked it yet, because mobos could be damaged with too much clumsy handling - we'll probably wait until we're ready to install the processor and memory.
The mobo we bought was a Gigabyte brand: Z68XP-UD3. We liked it because it has 10 USB ports and two firewire ports which we want to use for video editing. And a very colourful box! We haven't unpacked it yet, because mobos could be damaged with too much clumsy handling - we'll probably wait until we're ready to install the processor and memory.
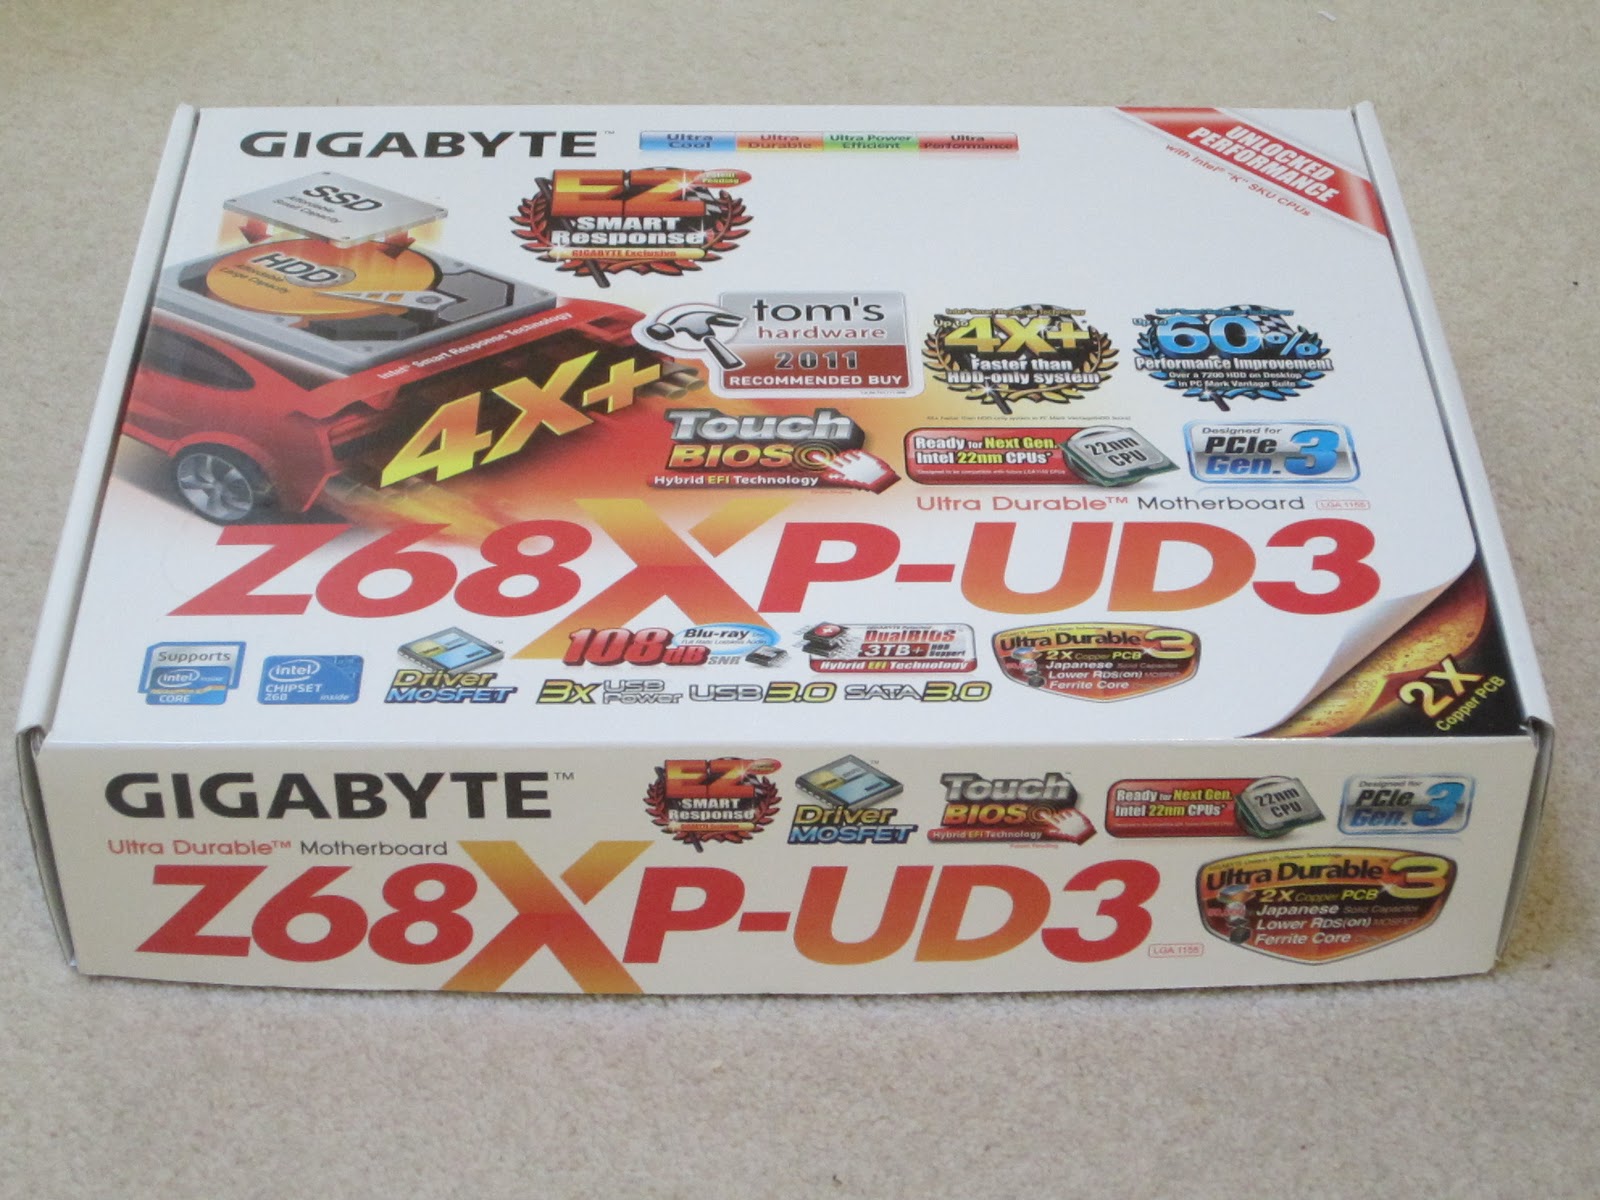 |
| The mobo box |
Tuesday, 17 January 2012
The first step - here's the box
We chose our case. An Antec NSK6582B. It's a midi-tower case, which is a good compromise between a full tower and a micro case. It should be plenty big enough for all the hardware we need. We looked at a few other options before deciding on this particular one. The Antec Three Hundred case gets good reviews too, but didn't come with a power supply. Another brand we considered is Lian Li, who make lovely looking cases, but they were a bit pricey for us.
I suppose you could say "a black one" as opposed to a silver one. But what else makes it special? It has space for five hard drives inside and four more on the outside! And it comes with a power supply that is good on energy efficiency. A lot of cases come without a power supply, and it was cheaper to buy case and power supply together. The one we have will supply up to 430 Watts. This isn't huge but should be enough for what we want - we'll keep a running total of power consumption as we go.
The panel on the back has holes for only a few USB ports, but our "mobo" comes with a panel to replace it and, as we reported on the mobo post, that panel has 10 USB ports and a firewire ports. The case itself has also a firewire port on the front, which is going to be really handy for working with all those mini-DV tapes at the back of the cupboard.
We think the front of the case looks really cool - when we get a DVD drive, we'll have to make sure it matches. It comes with one fan (12cm) and also has space for extra fans. We're planning to buy some LED fans that emit a blue light. We think that will look really cool!!! I'll report back when we decide which fans exactly.
Why fans, you might ask though. Fans are needed in a computer to keep the components cool. Overheating may cause your computer to crash. Even if that doesn't happen, you will probably shorten the lifespan of your computer considerably if you don't keep the components cool. (And, no, wafting it with a newspaper occasionally doesn't help!)
And how do computers get hot in the first place? All that hard(ware) work in there generates some heat! Look at this forum about computers where someone explained it in a bit more detail.
Finally, why start with the case? No big reason, but it's help you get excited about what you'll have at the end!
 | ||
| Front panel of the case |
The panel on the back has holes for only a few USB ports, but our "mobo" comes with a panel to replace it and, as we reported on the mobo post, that panel has 10 USB ports and a firewire ports. The case itself has also a firewire port on the front, which is going to be really handy for working with all those mini-DV tapes at the back of the cupboard.
We think the front of the case looks really cool - when we get a DVD drive, we'll have to make sure it matches. It comes with one fan (12cm) and also has space for extra fans. We're planning to buy some LED fans that emit a blue light. We think that will look really cool!!! I'll report back when we decide which fans exactly.
 |
| The power supply |
And how do computers get hot in the first place? All that hard(ware) work in there generates some heat! Look at this forum about computers where someone explained it in a bit more detail.
Finally, why start with the case? No big reason, but it's help you get excited about what you'll have at the end!
So far, so good

Subscribe to:
Posts (Atom)